Fast User Switching is an easy way for another person to log on to the computer without logging you off or closing your programs and files. Follow the steps below to for Fast Switch User.
1. To begin, make sure that you have logged in as Administrator or have required administrative rights to change local group policies.
2. Press the Windows +R button.
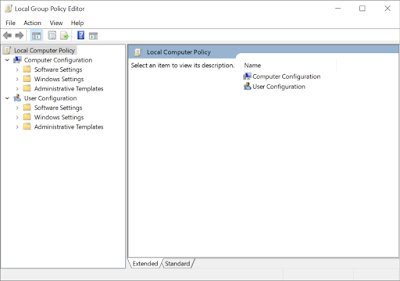
3. Run dialog box will pop-up,type gpedit.msc. This will open Local Group Policy Editor. (see pic 1 for reference)
4. Now, go to the following location and look for Local Computer Policy in the left pane.

5. Click on Local Computer Policy/Computer Configuration/Administrative Templates/System/Logon. (See Pic 2 for refrence)
6. Just double-click Hide Entry Points for Fast User Switching to bring up a dialog box to change Fast User Switching policy setting.
7. At the top, there are Not Configured, Enabled and Disabled options available. Selecting each setting will let you read its affect in Help section. To disable Hide Entry Points for Fast User Switching, just select Enabled from the list and click OK.
If you need to diable this option, you need to select Disabled from the list. Rest all process is same.

8. Once done, you will have to enforce this change made to Fast User Switching policy setting. To do so, close the Local Group Policy Editor and open the Run dialog box (Windows +R button). Enter the command “gpupdate /force“ and click OK. The policy will be updated and applied on all user accounts.
9. To re-enable Fast User Switching, just choose Not Configured in its policy setting dialog and apply the changes via gpupdate /force command.
Hope this helps setting up mutiple users to login on your PC.
No comments:
Post a Comment